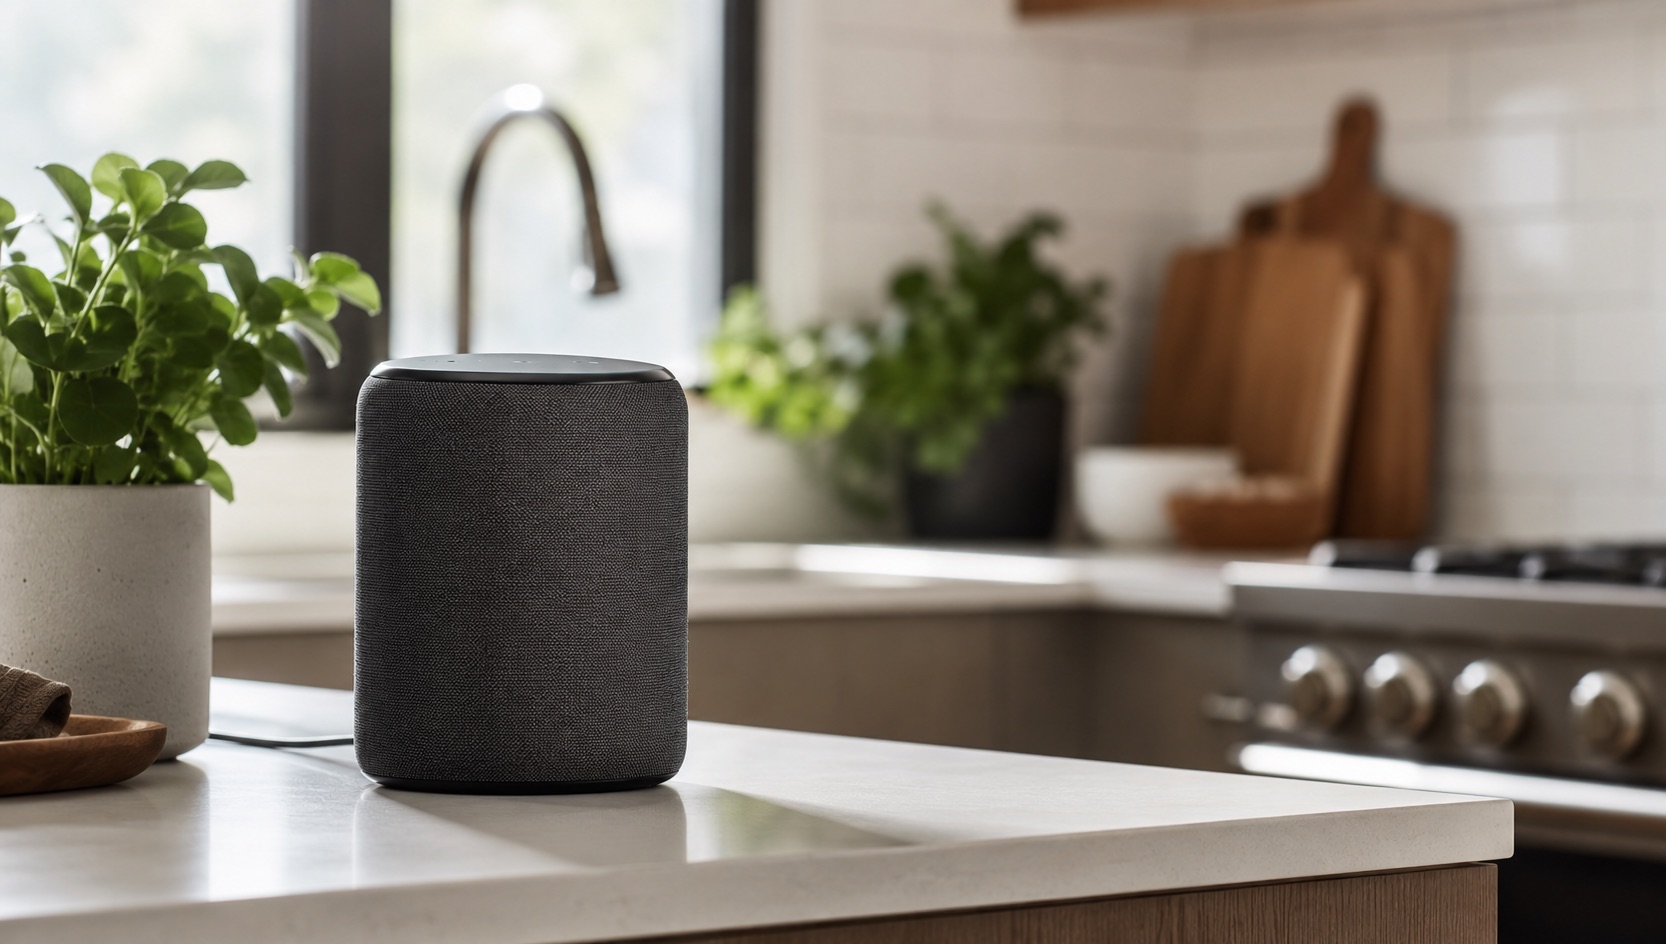
Home Assistant Voice Setup: Local Control Without the Cloud (2026)
Voice assistants like Alexa and Google Home are convenient, but they listen to everything you say and send your commands to the cloud. For smart home users who value privacy, this is a dealbreaker. Home Assistant now offers a fully local voice assistant that runs entirely on your hardware. No cloud processing, no subscription fees, no data leaving your home.
I set up local voice control three months ago using the Wyoming protocol with a cheap USB microphone and a Raspberry Pi. It handles my daily commands about 85% as well as Alexa, and the privacy trade-off is worth it. Here is exactly how to set it up.
For the broader local platform, integrations and setup routes, see our Home Assistant topic guide.
Why Go Local With Voice?
The standard voice assistants have real problems:
- Privacy: Alexa and Google record snippets of conversation, sometimes even when you have not said the wake word. These recordings go to company servers for processing.
- Internet dependency: No internet means no voice control. Commands fail silently or with frustrating delays.
- Subscription creep: Amazon keeps adding features behind Alexa Plus ($19.99/month). Google is heading the same direction.
- Data ownership: Your voice commands, routines, and patterns are stored on someone else’s servers indefinitely.
Local voice control solves all of these. Your voice data stays on your hardware. Commands work offline. There are no subscriptions. And you own everything.
For more on the privacy angle, see our best smart home devices that work without internet guide.
What You Need
Hardware for a basic local voice setup:
| Component | Price | Purpose |
|---|---|---|
| Home Assistant server | Existing | Runs the voice pipeline |
| USB microphone | $10-25 | Captures your voice |
| Speaker | $10-30 | Speaks responses back |
| Raspberry Pi (if separate HA server) | $35-75 | Dedicated HA device |
The total cost for a basic setup is $20-55 if you already have a Home Assistant server. If you need a dedicated HA device, budget $55-130 total.
For comparison, an Echo Dot costs $50 and a Nest Mini costs $49, but they come with ongoing privacy costs and potential subscription fees. Our smart home on a budget guide covers affordable hardware options.
Option 1: Wyoming Protocol (Recommended for Beginners)
Wyoming is Home Assistant’s built-in voice assistant framework. It uses a pipeline: wake word detection, speech-to-text (STT), intent recognition, and text-to-speech (TTS). All processing happens locally.
Step 1: Install the Wyoming Integration
- Go to Settings > Add-ons > Add-on Store
- Install these add-ons:
- openWakeWord (detects the wake word “Okay Nabu”)
- Whisper (speech-to-text, converts your voice to text)
- Piper (text-to-speech, speaks responses)
- Start all three add-ons
- Go to Settings > Devices & Services
- Wyoming should auto-discover the add-ons. If not, add it manually.
Step 2: Set Up Your Microphone
Connect a USB microphone to your Home Assistant device. Good options:
- ReSpeaker USB Mic Array ($25): Best quality, good range, built-in noise cancellation
- Generic USB microphone ($10): Works fine for desk or bedside setups
- PS3 Eye camera ($5-10 used): Surprisingly good 4-microphone array, cheap on eBay
After connecting, go to Settings > System > Audio and verify the microphone appears. If you are running Home Assistant OS, USB audio devices are detected automatically.
Step 3: Add a Speaker
You need a speaker for voice responses. Options:
- USB speaker ($10-15): Simple, plug-and-play
- 3.5mm speaker connected to your HA device: Cheapest option
- Network speaker (via Media Player integration): Sonos, Google Cast, etc.
In Home Assistant, go to Settings > System > Audio and set your default output device.
Step 4: Configure the Voice Pipeline
- Go to Settings > Voice Assistants
- Click Add Assistant
- Configure:
- Conversation agent: Home Assistant (local)
- Wake word: Okay Nabu (via openWakeWord)
- Speech-to-text: Whisper
- Text-to-speech: Piper
- Language: Your language
- Assign your microphone and speaker
Step 5: Test It
Say “Okay Nabu, turn on the living room light.” The pipeline should:
- Detect the wake word (openWakeWord)
- Record your command
- Convert speech to text (Whisper)
- Match the intent (Home Assistant)
- Execute the action
- Speak a confirmation (Piper)
Total latency: 1-3 seconds on a Raspberry Pi 4, under 1 second on a NUC or mini PC.
Option 2: ESPHome Voice Satellite
For a more distributed setup, you can build voice satellites using ESP32 devices. These are small, cheap boards with microphones and speakers that connect to your Home Assistant server over WiFi.
What You Need
- ESP32-S3-Box or ESP32-S3-DevKitC ($15-25)
- Microphone and speaker (built into ESP32-S3-Box)
- Home Assistant server running Wyoming services
How It Works
The ESP32 device sits in a room and listens for the wake word. When it hears “Okay Nabu,” it streams the audio to your Home Assistant server for processing. The server runs Whisper (STT), processes the command, and streams the response back to the ESP32 for playback.
This means you can have voice control in multiple rooms without running USB cables everywhere. Each ESP32 satellite costs $15-25 and connects via WiFi.
Setup
- Flash the ESPHome voice firmware to your ESP32-S3-Box (Home Assistant has a one-click installer)
- Add the device to Home Assistant via ESPHome
- Assign it to a room
- The satellite auto-discovers your Wyoming services
For more on ESPHome devices, see our best smart home automations guide.
Voice Commands That Actually Work
Local voice assistants are not as capable as Alexa or Google. They handle straightforward device control well but struggle with complex, multi-step requests. Here is what works reliably:
Works Well
- “Turn on/off the [room] light”
- “Set the thermostat to [X] degrees”
- “Lock/unlock the front door”
- “What is the temperature in the [room]?”
- “Turn on the [scene name]”
- “Open/close the blinds”
Works Sometimes
- “Turn on the lights in the living room and kitchen” (multi-room)
- “Set the brightness to 50 percent” (if context is clear)
- “Play music on the kitchen speaker” (if media player is configured)
Does Not Work Well (Yet)
- “What is the weather tomorrow?” (needs internet)
- Complex follow-up questions
- Natural language with slang or unclear phrasing
- Very long commands with multiple actions
The key is to keep commands simple and direct. Think of it as talking to a helpful robot, not a conversational AI. As the Home Assistant voice pipeline improves, more complex commands will become reliable.
Optional: LiteLLM conversation agent in Home Assistant 2026.8
Home Assistant 2026.8 adds LiteLLM as a conversation-agent option for OpenAI-compatible model endpoints. That can give the Assist pipeline more flexible natural-language responses while centralizing model routing through LiteLLM. It is an optional alternative to Home Assistant’s local intent handling, not a replacement for Wyoming, Whisper or Piper.
LiteLLM also does not make a model local by itself. Privacy, internet dependence and running cost depend on the model endpoint you configure: a local backend can stay on your network, while a hosted provider sends prompts off-site. Keep the standard local conversation agent if the fully offline promise is your priority.
Wake Word Options
“Okay Nabu” is the default wake word, but you have options:
| Wake Word | Source | Quality |
|---|---|---|
| Okay Nabu | Home Assistant | Good, default |
| Hey Jarvis | openWakeWord | Decent |
| Custom | Train your own | Variable |
You can train a custom wake word if “Okay Nabu” feels awkward. The openWakeWord project has documentation on training your own model. Some users prefer “Computer” or their own name.
Improving Accuracy
Local speech recognition is not perfect, but you can improve it:
Microphone placement: Put the mic where you actually speak from. A desk mic next to your server in a closet will perform poorly compared to a mic on your nightstand or kitchen counter.
Reduce background noise: The Whisper model handles moderate noise well, but loud environments (TV, music, fans) degrade accuracy significantly.
Speak clearly and at normal volume: You do not need to shout or speak unnaturally. Normal conversational tone works best.
Use entity aliases: In Home Assistant, you can add aliases to devices. If your light entity is “light.living_room_ceiling_light,” add aliases like “living room light” and “ceiling light” so the voice assistant understands natural references.
Upgrade hardware: A better microphone makes a real difference. The ReSpeaker USB Mic Array ($25) outperforms a $10 clip-on mic significantly.
How It Compares to Alexa and Google
| Feature | Home Assistant Voice | Alexa | Google Home |
|---|---|---|---|
| Privacy | Excellent (fully local) | Poor (cloud-dependent) | Poor (cloud-dependent) |
| Internet required | No | Yes | Yes |
| Response time | 1-3 seconds | 0.5-1 second | 0.5-1 second |
| Accuracy (device control) | 85-90% | 95%+ | 95%+ |
| Complex commands | Limited | Good | Good |
| Smart home control | Excellent | Excellent | Excellent |
| Cost | $20-55 (one-time) | $50 (Echo) | $49 (Nest Mini) |
| Subscription | None | Alexa Plus ($20/mo) | None (yet) |
| Ecosystem | Any HA device | Alexa-compatible | Google-compatible |
Home Assistant voice wins on privacy and cost. Alexa and Google win on accuracy and natural language understanding. For basic smart home control, Home Assistant voice is good enough for daily use.
For a broader ecosystem comparison, see our best smart home ecosystem 2026 guide.
FAQ
Can I replace Alexa with Home Assistant voice entirely?
For basic smart home control, yes. For complex queries, music streaming, and third-party integrations (ordering, calling), not yet. Many users run both: Home Assistant voice for local device control and Alexa for music and general knowledge. Over time, as the voice pipeline improves, the gap will narrow.
Does Home Assistant voice work offline?
Yes, fully offline. Once the wake word, speech-to-text, intent processing, and text-to-speech services are running on your hardware, no internet connection is required. Commands work even during internet outages.
How much does a local voice setup cost?
$20-55 for a USB microphone and speaker if you already have a Home Assistant server. If you need a dedicated HA device, budget $55-130 total. There are no ongoing costs. Compare that to Alexa Plus at $240/year.
Can I use my phone as a voice satellite?
Home Assistant’s mobile app supports voice commands via the app, but it is not a true voice satellite (it does not listen continuously for the wake word). You need to open the app and press the microphone button. For always-listening voice control, use a dedicated USB mic or ESP32 satellite.
Is the voice quality good enough for accents?
Whisper (the speech-to-text engine) handles a wide range of accents well because it was trained on diverse audio data. Non-native English speakers and regional accents generally work fine. If you have a very strong accent, you can fine-tune the Whisper model for your voice, though this requires more technical setup.