Best Smart Home for Photography Studios (2026)
Best Smart Home for Photography Studios (2026)
A photography studio is a controlled environment by definition — you control the light, the backdrop, the temperature, the mood. Smart home technology extends that control into automation, making studio setup faster, more repeatable, and more impressive to clients. Instead of manually adjusting six lights for a different shooting style, you tap one scene and everything changes simultaneously. Instead of running to the thermostat between sessions, the studio pre-conditions itself based on your booking calendar.
This guide covers smart home devices specifically useful for photography studios: lighting preset systems, motorized backdrop control, climate automation, booking-triggered workflows, air management for fog/smoke sessions, and sound systems for creating atmosphere. Whether you run a home studio or a commercial space, these automations save setup time, reduce friction between shoots, and create a professional experience that clients notice.
Why Smart Home Tech Transforms Studio Workflows
Professional photographers spend a surprising amount of time on non-photography tasks: adjusting ambient lighting between setups, changing backdrops, warming or cooling the space for client comfort, cueing music, and managing transitions between sessions. Smart home automation compresses these transitions:
- One-tap scene changes set ambient lighting, backdrop position, and music simultaneously
- Calendar-triggered pre-conditioning means the studio is ready before you arrive
- Consistent climate keeps models comfortable during long sessions
- Automated air clearing between smoke/fog shoots prevents residual haze in clean shots
- Professional ambiance from automated mood lighting impresses clients immediately
The ROI is measured in time. If scene changes take 2 minutes instead of 10, and you shoot 5 setups per session, you save 40 minutes per client. Over a year of weekly sessions, that’s 35+ hours recovered — more than a full working week.
Best Smart Devices for Photography Studios
Philips Hue Lighting System — Best Ambient Preset Lighting
Price: ~$50–$200 depending on bulb count
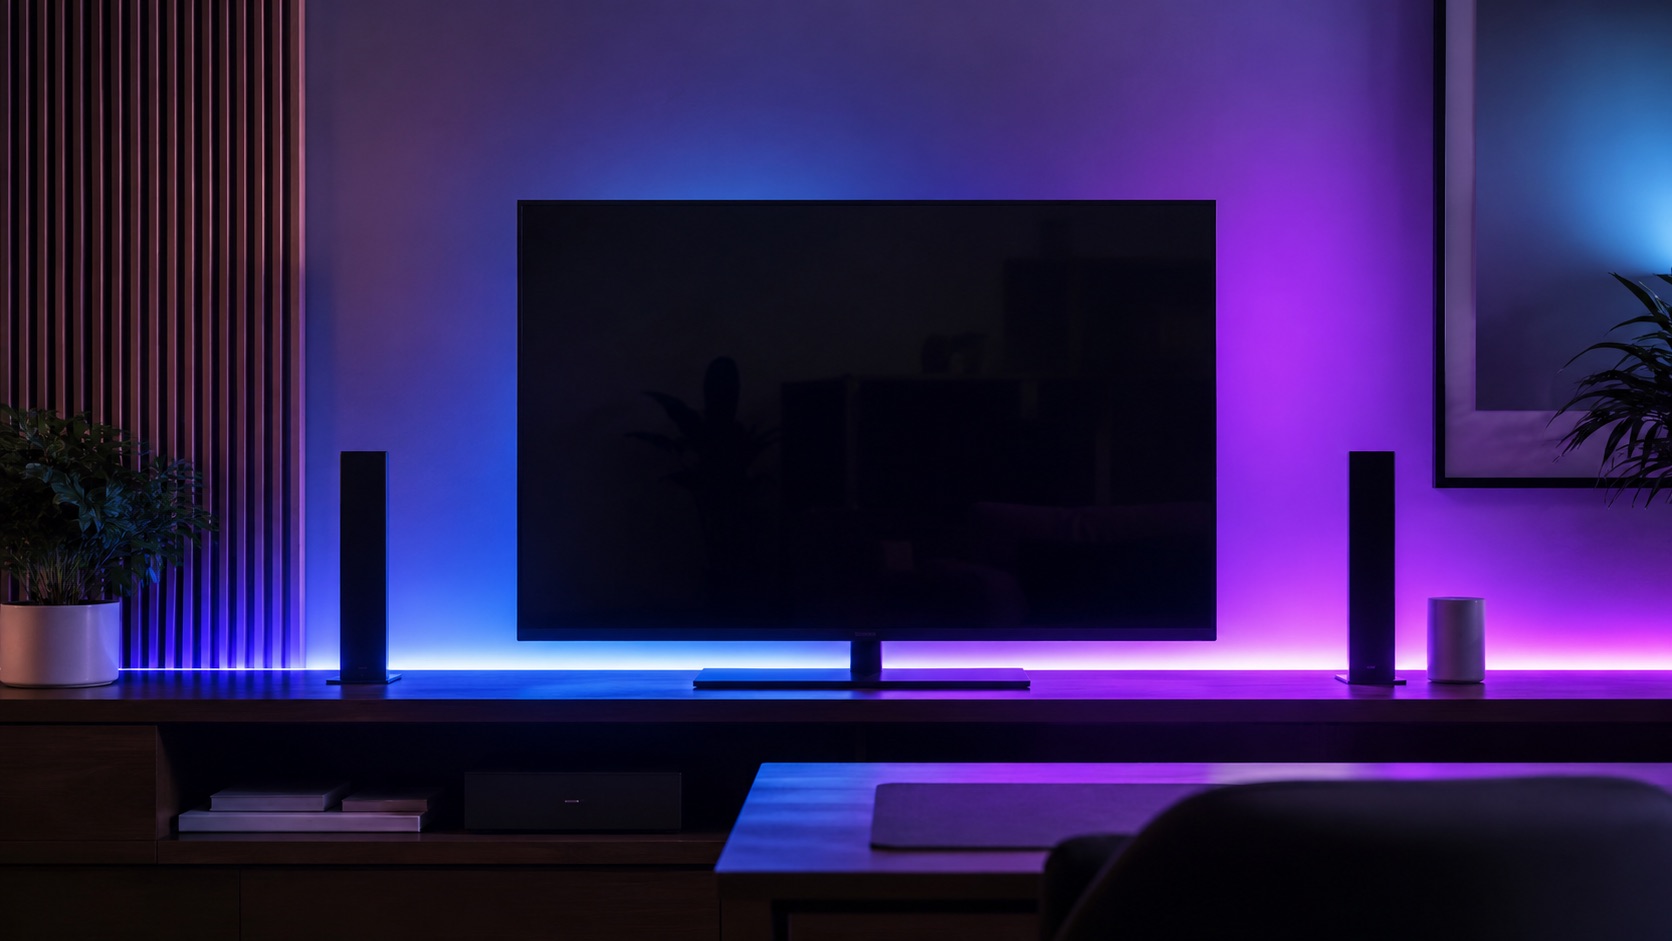
Philips Hue is the gold standard for photography studio ambient lighting — not for the actual shoot lighting (you’ll use strobes or continuous studio lights for that), but for the ambient environment that affects mood, client experience, and behind-the-scenes content.
Create scenes for different shoot types:
- Portrait warm: 2700K warm white at 40% brightness — relaxed, flattering ambient for portrait sessions
- Product neutral: 5000K daylight at 80% — clean, neutral ambient that complements product photography lighting
- Creative color: Purple/teal accent lighting for editorial and creative shoots
- Client welcome: Warm, inviting lighting at 60% for when clients arrive and during consultation
- Reset/clean: Full brightness 5000K for cleaning and setup between sessions
Each scene activates with a single tap in the Hue app, a voice command, or a physical Hue Smart Button mounted on the wall. Transitions are instant across all bulbs simultaneously — no walking around adjusting individual fixtures.
For studios with LED strip accents (behind backdrops, along ceiling coves), Hue Lightstrip Plus adds color-wash capability that transforms the background of behind-the-scenes video content.
Best for: Any studio that wants instant ambient mood changes and professional atmosphere between shooting setups.
Smart Switch for Motorized Backdrop — Best Backdrop Automation
Price: ~$20–$45 for smart switch + motorized backdrop system
Motorized backdrop rollers (from manufacturers like Fotodiox, Manfrotto, or DIY solutions using tubular motors) can be controlled via smart switches. A Shelly relay or smart switch behind the motor’s wall switch enables remote and automated control.
The setup: mount 2–4 motorized backdrop rollers on the ceiling. Wire each motor through a separate smart relay (Shelly 1, Shelly 2PM, or a Zigbee relay). Create scenes that lower a specific backdrop while raising others — tap “white seamless” and the white backdrop descends while colored backdrops retract.
For more advanced control, some motorized systems use RF remotes — in which case a SwitchBot Bot physically pressing the remote buttons, or a Broadlink RM4 learning the RF codes, enables smart integration.
Best for: Studios with multiple backdrop options that want one-tap backdrop changes without climbing ladders.
Smart Thermostat or Mini-Split Control — Best Climate Management
Price: ~$50–$250
Studio temperature directly affects client comfort, especially for portrait sessions where subjects may be lightly dressed, or long sessions exceeding an hour. A smart thermostat (Ecobee, Nest) or IR-controlled mini-split (via SwitchBot Hub 2) maintains consistent temperature.
The key automation is calendar-based pre-conditioning:
- 30 minutes before a booking: Set studio to 72°F (22°C) for portrait sessions, 68°F (20°C) for active shoots
- During session: Maintain target temperature
- After session ends: Setback to 62°F (17°C) to save energy until next booking
For home studios in garages or converted spaces with poor insulation, climate pre-conditioning is essential — nobody wants a client arriving to a 58°F studio in winter.
Best for: Any studio where climate varies between sessions or where pre-conditioning saves energy.
Google Calendar / Apple Calendar Integration — Best Session Trigger
Price: Free (with existing smart home hub)
The most powerful studio automation connects your booking calendar to your smart home system. Using Home Assistant, IFTTT, or Apple Shortcuts:
- Booking starts in 30 minutes: Turn on studio lights to “warm welcome” scene, set thermostat to session temperature, turn on sound system with background playlist
- Session labeled “headshot”: Set ambient to portrait warm preset, extend white backdrop
- Session labeled “product”: Set ambient to neutral, extend grey backdrop
- Booking ends: Fade lights to cleanup brightness, lower thermostat to setback, send air purifier to high for 15 minutes
This means your studio is fully prepared before you or your client arrives. Walk in, and everything is already set for the specific type of shoot you’re about to do. Clients notice this level of preparation.
Best for: Studios with regular bookings who want zero-effort session preparation.
Smart Air Purifier — Best for Fog/Smoke Session Recovery
Price: ~$100–$200
Fog machines and haze machines create stunning atmospheric effects, but residual haze lingers for 30–60 minutes after use. If your next session requires clean, haze-free air, a smart air purifier on full speed between sessions clears the studio faster.
The Levoit Core 400S or Coway Airmega work with their respective apps and voice assistants. Create an automation: when a “fog session” calendar event ends, run air purifier at maximum for 30 minutes, then return to auto mode.
For studios that use these effects regularly, ceiling-mounted ventilation with a smart-switched inline fan is even more effective — but a portable smart air purifier is the quickest, most flexible solution.
Best for: Studios that alternate between atmospheric/fog shoots and clean-air sessions within the same day.
Sonos or Smart Speaker System — Best Studio Sound
Price: ~$200–$500 depending on setup
Music transforms the shooting experience for clients. A smart speaker system (Sonos, HomePod, or similar) integrated into your studio automation means music starts automatically when a session begins — no fumbling with Bluetooth pairing or aux cables.
Create playlists by session type:
- Portrait/headshot: Upbeat, confident music that keeps energy high
- Newborn/family: Soft, gentle ambient music
- Fashion/editorial: Current, trendy tracks that match the creative energy
- Product: No music or minimal ambient background
Automate via calendar integration: when a session begins, play the associated playlist at moderate volume. Voice control allows instant volume adjustments without leaving your shooting position.
Best for: Client-facing studios where music enhances the shooting experience and puts subjects at ease.
Smart Plug for Studio Strobe/Light Power — Best Power Management
Price: ~$15–$25 per plug
Studio strobes and continuous lights often draw significant power and shouldn’t remain on between sessions (heat, bulb life, energy waste). Smart plugs on power strips controlling studio lighting equipment enable:
- Calendar-triggered power: Lights energize 10 minutes before a session, de-energize 10 minutes after
- Scene-based zones: “Full studio” powers all lights, “product corner” powers only the product area
- Safety: Ensure all studio lights are off at end of day regardless of whether you remembered to switch them
For studios with modeling lamps that generate heat, powering down between sessions keeps the room cooler and extends bulb lifespan.
Best for: Studios with multiple lighting zones that want automated power management and end-of-day safety shutoff.
Photography Studio Smart Home Comparison Table
| Device | Price | Studio Use | Client Benefit | Automation |
|---|---|---|---|---|
| Philips Hue (4-bulb kit) | ~$150 | Ambient scene presets | Professional atmosphere, mood setting | One-tap scene changes, calendar-triggered |
| Smart Switch (Shelly 1) | ~$20 | Motorized backdrop control | Faster setup, less waiting | Scene-triggered backdrop position |
| Smart Thermostat (Ecobee) | ~$200 | Climate pre-conditioning | Comfortable temperature on arrival | Calendar-triggered 30min before session |
| Calendar Integration | Free | Session-based automation | Studio ready before they arrive | Auto-prepare based on booking type |
| Levoit Core 400S | ~$150 | Fog/haze clearing | Clean air between sessions | Post-fog-session auto purge cycle |
| Sonos One | ~$220 | Background music by session | Relaxed, professional experience | Auto-play playlist when session starts |
| Smart Plug (Kasa) | ~$15 | Strobe/light power control | Reduced wait time for light warmup | Calendar power on/off, safety shutoff |
Essential Studio Automations
”Open Studio” Scene
Triggered: 30 minutes before first booking of the day
- Thermostat to 72°F
- Ambient lights to “welcome” scene (warm, 50%)
- Sound system on with morning playlist at low volume
- Studio strobes powered via smart plugs (warmup time)
- Air purifier to auto mode
”Session Start” Scene
Triggered: manually via button or at booking start time
- Ambient lights shift to session-appropriate scene
- Backdrop moves to position for session type
- Music switches to session-appropriate playlist
- Thermostat confirms target temperature
”Between Sessions” Scene
Triggered: manually or 10 minutes after session end time
- Ambient lights to full brightness for cleanup
- Air purifier to high (especially after fog/smoke)
- Strobe modeling lamps off (save heat and bulb life)
- Music to low background
- Thermostat maintains temperature for next session
”Close Studio” Scene
Triggered: 30 minutes after last booking, or manually
- All lights off
- All smart plugs off (strobes, accessories)
- Thermostat to setback (62°F)
- Sound system off
- Air purifier off
- Door lock engages (if applicable)
Building Your Studio Smart Setup: Investment Tiers
Starter ($100): Smart plugs on studio lights + 2× Hue bulbs for ambient accent. Manual scene switching but automated power scheduling. This handles end-of-day safety and basic ambient mood.
Professional ($400): Full Hue ambient system + smart thermostat + Sonos speaker + calendar integration. This covers atmosphere, climate, sound, and automated session preparation. Clients notice the seamless preparation.
Premium ($800+): Full Hue system + motorized backdrops on smart switches + smart thermostat + Sonos + air purifier + smart lock for after-hours access + calendar-driven full automation. Every aspect of studio management is automated. Walk in, shoot, walk out — the studio handles everything else.
Tips for Studio Smart Home Setup
- Separate ambient lighting from shoot lighting — smart bulbs control atmosphere, professional fixtures control the actual shot
- Label calendar events consistently so automations can parse session types (use “headshot,” “product,” “family” etc.)
- Keep voice control available for mid-session adjustments without leaving your camera position
- Mount Hue Smart Buttons near your shooting position for one-tap scene changes during a session
- Test automations before client sessions — a backdrop that doesn’t descend on cue is worse than doing it manually
- Use physical smart buttons rather than app control during shoots — faster and doesn’t interrupt flow
- Create a “demo mode” scene that cycles through your lighting options to show studio capabilities to prospective clients
Related Guides
-
How to Start a Smart Home From Scratch For building the smart infrastructure that supports your studio automation:
-
Best Smart Bulbs 2026 — complete breakdown of Philips Hue, LIFX, and other smart lighting systems ideal for studio ambient presets
-
Best Smart Home Ecosystem 2026 — choosing the right platform to tie your studio automations together reliably
-
Best Matter-Compatible Devices 2026 — future-proof your studio with Matter devices that work across all platforms
See how we compare products for our full methodology.
Frequently Asked Questions
Can I use Philips Hue bulbs as actual photography lighting?
Not for professional shooting — Hue bulbs lack the output, CRI (Color Rendering Index), and consistency needed for photographic lighting. Consumer smart bulbs have CRI around 80, while photography requires CRI 95+. Use Hue exclusively for ambient atmosphere, background accent color, and behind-the-scenes content lighting. Your actual shoot lighting should be professional strobes or continuous LED panels (Godox, Nanlite, Aputure) with high CRI ratings. However, Hue is excellent for practical lights visible in the frame during lifestyle shoots, where color accuracy is less critical than mood.
How do I connect my booking system to smart home automations?
The most flexible approach uses Home Assistant with a Google Calendar or CalDAV integration. Home Assistant reads your calendar events and triggers automations based on event titles, start times, and custom descriptions. For simpler setups, IFTTT connects Google Calendar to smart plugs, Hue scenes, and thermostats with basic “event starts → action” logic. Apple users can use Shortcuts automations triggered by Calendar events. The key is consistent event naming — if your automation looks for “headshot” in the event title, always include that keyword when booking headshot sessions.
Will smart home automation interfere with studio radio triggers or strobes?
No. Smart home devices (Zigbee at 2.4GHz, WiFi at 2.4/5GHz, Thread at 2.4GHz) operate on completely different frequencies than photography radio triggers (most use 2.4GHz FSK or proprietary frequencies like Godox’s 433MHz). In practice, interference is essentially zero — millions of photographers shoot in WiFi-dense environments without strobe misfires. Zigbee and Thread devices use extremely low-power transmissions on narrow channels. If you experience any issues (extraordinarily rare), switching your strobes to optical trigger mode or a different radio channel resolves it immediately.
Is motorized backdrop automation worth the investment?
For studios that change backdrops multiple times per session, absolutely. Manual backdrop changes involve climbing a ladder, unrolling paper, and repositioning — 3–5 minutes per change. Motorized systems with smart control reduce this to a button tap and 10 seconds of motor travel. If you change backdrops 3 times per session across 200 sessions per year, you save 25–40 hours annually. The hardware cost (motorized rollers ~$200–$400 per rail plus ~$20 per smart relay) pays for itself in recovered shooting time within months. For studios with a single backdrop that rarely changes, it’s unnecessary.
What’s the best way to control studio temperature for model comfort?
Use a smart thermostat with calendar-based pre-conditioning. Set the studio to 72–74°F (22–23°C) thirty minutes before portrait sessions — this accounts for the fact that subjects under studio lights get warm, so starting slightly cool prevents overheating mid-session. For fashion shoots with lighter clothing, bump to 74–76°F. Add a portable smart space heater on a smart plug for quick boosts in poorly insulated studios. The key insight: never adjust temperature during a session if avoidable, because HVAC noise can interfere with any video component of the shoot, and temperature fluctuations cause discomfort. Pre-condition, maintain, and adjust between sessions.