How to Isolate Security Cameras on a VLAN (2026 Guide)
How to Isolate Security Cameras on a VLAN (2026 Guide)
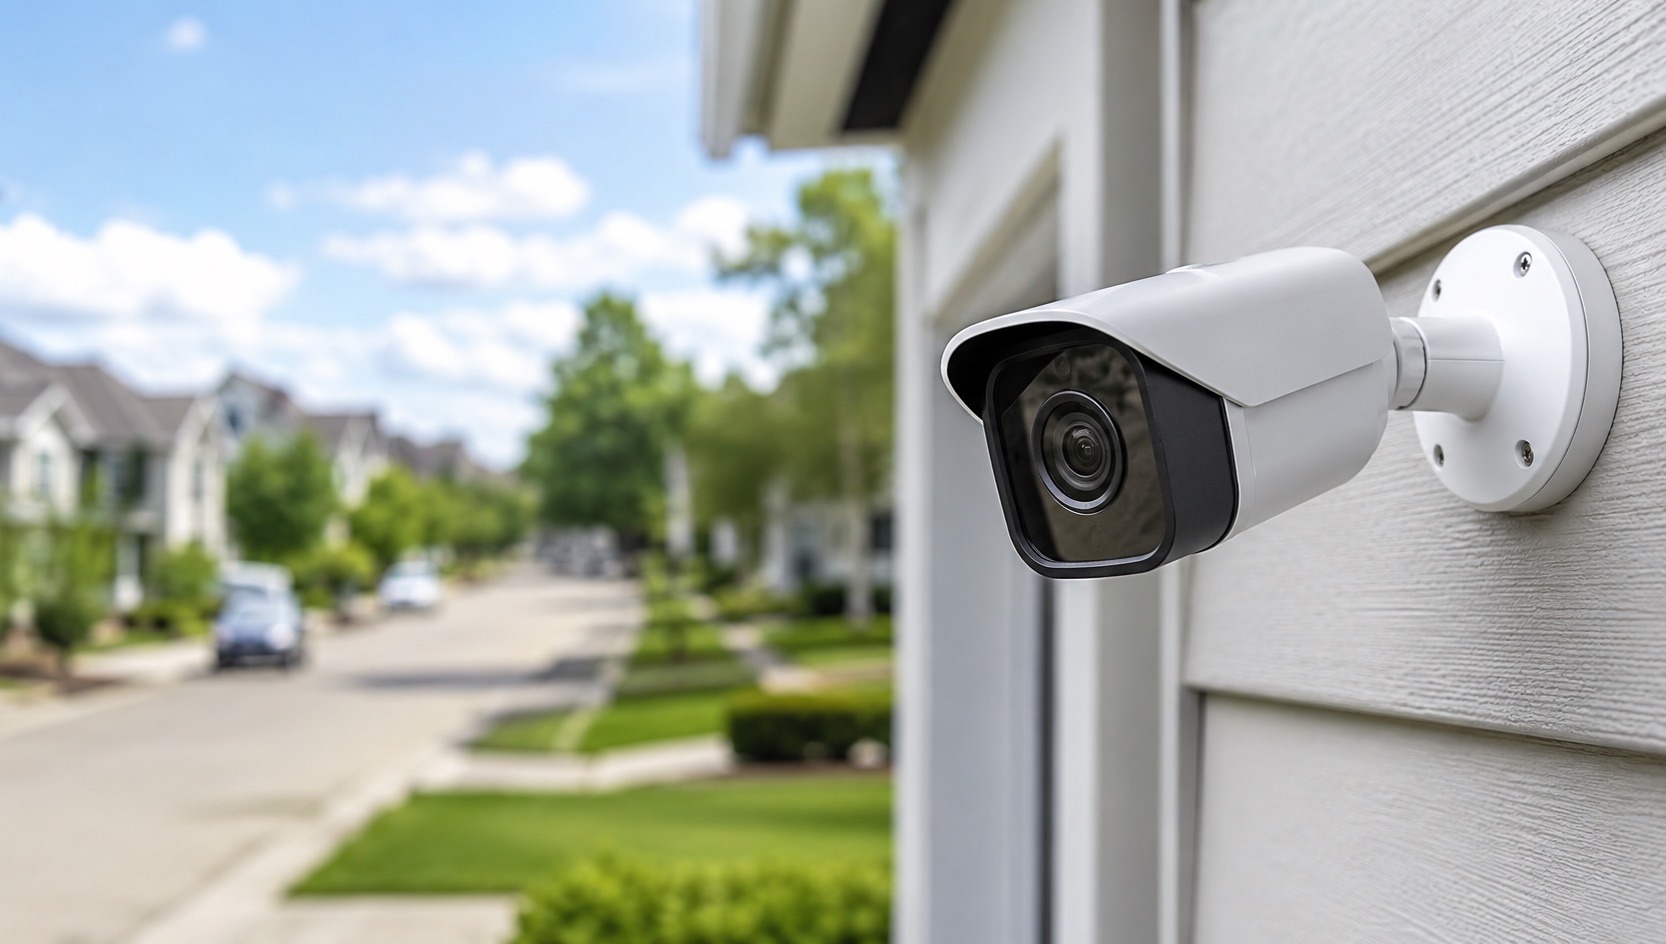
Your security cameras don’t need internet access. They record locally to an NVR. They don’t need to reach YouTube, Google, or any cloud server in Shenzhen. So why are they sitting on the same network as your laptop, phone, and banking sessions? Let’s fix that.
Why Camera Isolation Matters
I’m not being paranoid (well, maybe a little). Here are concrete reasons to put cameras on their own VLAN:
They phone home. I’ve tested this with packet captures on my Reolink cameras. Even with cloud features disabled, they periodically attempt DNS lookups and connections to Reolink’s servers. Harmless check-ins, probably. But “probably” isn’t good enough for devices with microphones and cameras pointing at my family.
Breach containment. If a camera firmware has a vulnerability (and they all do, eventually), an attacker who compromises that camera can only see other devices on the same VLAN. Not your laptop. Not your NAS with family photos. Not your Home Assistant server with all your automations.
Network performance. Six 4K cameras streaming at 8-12 Mbps each can saturate a switch’s internal routing. Isolating camera traffic means your main network never sees those video streams unless you explicitly allow it (like your NVR accessing them).
Preventing lateral movement. In IT security, we call this “defense in depth.” Even if one camera is compromised, the attacker hits a wall trying to reach anything useful. No access to your main network, no internet for exfiltrating data.
I covered the broader privacy picture in our smart home security and privacy guide.
What You Need
- A managed switch (one that supports VLANs and port tagging)
- A router/firewall that supports VLANs (Ubiquiti, pfSense, OPNsense, or even some consumer routers)
- 30-60 minutes of configuration time
If you’re running Ubiquiti gear like me, this is straightforward. But I’ll include generic alternatives for every step so you can do this with TP-Link Omada, Netgear managed switches, or any VLAN-capable equipment.
The Setup Steps
| Step | Action | Ubiquiti Setting | Generic Alternative |
|---|---|---|---|
| 1 | Create camera VLAN | Networks > Create New (VLAN ID 30) | Switch management > VLANs > Create |
| 2 | Assign switch ports | Ports > Select port > Native VLAN 30 | Port settings > PVID = 30 |
| 3 | Block internet for VLAN | Firewall > Create rule: Drop VLAN30 to WAN | ACL rule: deny VLAN30 to 0.0.0.0/0 |
| 4 | Allow NVR access | Firewall > Allow VLAN30 to NVR IP only | ACL rule: permit VLAN30 to NVR IP |
| 5 | Block VLAN-to-VLAN | Firewall > Drop inter-VLAN by default | ACL rule: deny VLAN30 to other VLANs |
| 6 | Allow VLAN30 DHCP | Firewall > Allow VLAN30 to gateway:67-68 | Ensure DHCP server serves VLAN30 |
Let me walk through each step in detail.
Step 1: Create the Camera VLAN
A VLAN (Virtual LAN) is a logical separation within your physical network. Devices on VLAN 30 can’t talk to devices on VLAN 1 (your main network) unless you explicitly allow it with firewall rules.
Ubiquiti (UniFi Controller):
- Go to Settings > Networks
- Click Create New Network
- Name: “Cameras” (or “IoT-Cameras”)
- VLAN ID: 30 (any number 2-4094, I use 30)
- Gateway/Subnet: 192.168.30.1/24
- Enable DHCP server for this network
- DHCP range: 192.168.30.100 - 192.168.30.200
- Save
TP-Link Omada:
- Go to Settings > Wired Networks > LAN
- Create new network with VLAN ID 30
- Set gateway to 192.168.30.1, mask 255.255.255.0
- Enable DHCP
Netgear (managed switch, no router features): You’ll need a separate router/firewall that understands VLANs. The switch only tags traffic. Your router handles DHCP and inter-VLAN routing/blocking.
Step 2: Assign Switch Ports to the Camera VLAN
Each physical port on your PoE switch that connects to a camera should be set to VLAN 30 (untagged/native). This means any device plugged into that port automatically lands on the camera network.
Ubiquiti:
- Go to Devices > Your PoE Switch > Ports
- Click on the port connected to a camera
- Set Port Profile to “Cameras” (the network you created)
- Repeat for all camera ports
Generic managed switch:
- Go to VLAN settings
- Set the camera ports as “untagged” members of VLAN 30
- Remove them from VLAN 1 (default)
- Set PVID (Port VLAN ID) to 30
Important: Leave your uplink port (the one connecting the switch to your router) as a TRUNK port that carries all VLANs tagged. This lets the router see both VLAN 1 and VLAN 30 traffic.
After this step, your cameras will get IP addresses in the 192.168.30.x range. They’re now isolated at layer 2 from your main network.
Step 3: Block Internet Access for Cameras
Here’s where the real security happens. We create a firewall rule that prevents anything on VLAN 30 from reaching the internet.
Ubiquiti (UniFi):
- Go to Settings > Firewall & Security > Firewall Rules
- Create new rule:
- Type: Internet Out
- Name: “Block cameras WAN”
- Action: Drop
- Source: Network “Cameras” (VLAN 30)
- Destination: Any
- Save
pfSense/OPNsense:
- Go to the VLAN 30 interface firewall rules
- Add rule: Block, Source: VLAN30 net, Destination: any, Gateway: WAN
- Place this rule BELOW the “allow NVR” rule (rules process top-down)
Why this matters: Even if a camera’s firmware tries to upload footage to a remote server, it can’t. The packets get dropped at your firewall. Your footage stays on your property.
Step 4: Allow NVR Access to Cameras
Your NVR needs to reach the cameras for recording and management. There are two approaches:
Option A: NVR on the camera VLAN (simplest)
Put your NVR on VLAN 30 as well. Plug it into a port assigned to the camera VLAN. It gets a 192.168.30.x address. Cameras and NVR communicate freely within the VLAN. The NVR also can’t reach the internet (which is fine, it doesn’t need to).
If you want to view NVR footage from your main network, add one firewall rule: allow traffic from your main network (VLAN 1) to the NVR’s IP on specific ports (typically 80/443 for web interface, 554 for RTSP streams).
Option B: NVR on main network with cross-VLAN access
Keep the NVR on your main network (VLAN 1) and create firewall rules:
- Allow NVR IP to access VLAN 30 (camera subnet)
- Allow VLAN 30 to respond to established connections from NVR
- Block VLAN 30 from initiating connections to VLAN 1
I use Option A because it’s simpler and more secure. My NVR sits on the camera VLAN, and I access it from my main network via a specific allow rule.
Step 5: Block Inter-VLAN Traffic
By default in Ubiquiti, VLANs can talk to each other through the gateway. You need to explicitly block this.
Ubiquiti:
- Create a firewall rule:
- Type: LAN In
- Name: “Block cameras to LAN”
- Action: Drop
- Source: Network “Cameras”
- Destination: All Local Networks (exclude gateway IP for DHCP)
- Place ABOVE any allow rules for the camera network
Make sure to allow:
- DHCP traffic (cameras need to get IP addresses from the gateway)
- DNS only if cameras need it for NTP (time sync). I block DNS and set static NTP pointing to my local server instead.
- The specific cross-VLAN rule for accessing NVR from your main network (if using Option A from Step 4)
Step 6: Verify It Works
After configuring everything:
- Check cameras got 192.168.30.x addresses (look in your DHCP leases)
- From a camera’s IP, try to ping 8.8.8.8 (should fail, internet blocked)
- From a camera’s IP, try to ping your main network devices (should fail, inter-VLAN blocked)
- From the NVR, verify all camera feeds are accessible (should work, same VLAN or allow rule)
- From your main network, access the NVR’s web interface (should work if you created the allow rule)
I tested this by SSH-ing into a camera (Reolink allows it for debugging) and running network tests. Everything outside the camera VLAN was unreachable. Exactly what I want.
Bonus: DNS Sinkhole
For extra paranoia points, configure your DNS server (Pi-hole, AdGuard Home) to block known camera telemetry domains:
p2p.reolink.comapis.reolink.com- Any other manufacturer domains you find in packet captures
This provides defense-in-depth even if your firewall rules have gaps. The cameras can’t resolve the domains, so they can’t connect even if a rule accidentally allows it.
This Also Works For Other IoT Devices
The same VLAN approach works for any IoT device you don’t fully trust. Smart TVs, robot vacuums, cheap WiFi plugs. Create an “IoT” VLAN, assign their ports (or WiFi SSID), block internet. Devices that genuinely need cloud features can be on a separate “IoT-cloud” VLAN with limited internet access.
My network has three VLANs:
- VLAN 1: Trusted devices (laptops, phones, NAS)
- VLAN 20: IoT with cloud (robot vacuum, smart TV)
- VLAN 30: Cameras (zero internet)
For setting up the PoE switch that powers all this, see our best PoE switches guide. And for the camera hardware itself, I’ve documented my full setup in the Reolink + Ubiquiti walkthrough.
Common Mistakes
Forgetting the trunk port: If your uplink port isn’t set to trunk/tagged-all, VLAN 30 traffic won’t reach your router/firewall and cameras won’t get DHCP.
Blocking DHCP: Cameras need to reach the gateway (192.168.30.1) for DHCP. Make sure your firewall rules allow UDP 67-68 from VLAN 30 to the gateway.
NTP issues: Cameras need accurate time for recording timestamps. Either allow NTP (UDP 123) to an external server, or run a local NTP server and allow access to that.
Firmware updates: With internet blocked, cameras can’t auto-update firmware. You’ll need to download updates manually on your computer and upload them via the camera’s web interface. This is a feature, not a bug. You control when firmware changes.
FAQ
Do I need expensive Ubiquiti gear for this?
No. Any managed switch that supports 802.1Q VLANs works. A TP-Link TL-SG108E ($30) supports basic VLANs. For full firewall rules, you need a router that understands VLANs: pfSense (free, runs on old hardware), OPNsense (free), TP-Link Omada ($70+), or similar. Ubiquiti makes it convenient, but it’s not required.
Will VLANs slow down my camera streams?
No measurable difference. VLANs are a layer 2 separation handled by the switch’s hardware ASIC. There’s no performance overhead. Your 4K streams will flow at full speed within the VLAN. The only latency is the firewall inspecting cross-VLAN traffic, which adds microseconds.
Can I still access camera live feeds from my phone on the main network?
Yes, with the right firewall rule. Allow traffic from VLAN 1 (your main network) to the NVR IP on port 80/443 (web interface) and 554 (RTSP streams). Your phone connects to the NVR, which relays the camera feeds. The cameras themselves remain isolated.
What about WiFi cameras on a VLAN?
Create a separate WiFi SSID and assign it to VLAN 30. In Ubiquiti, go to WiFi settings, create a new network, and assign it to the Camera VLAN. Any device connecting to that SSID lands on VLAN 30 automatically. Same firewall rules apply. However, for security cameras specifically, I strongly recommend wired PoE over WiFi for reliability.
How do I handle cameras from different brands on the same VLAN?
They all go on the same VLAN. Brand doesn’t matter, they’re just IP devices. Your NVR (or Home Assistant via ONVIF/RTSP) discovers them by IP address. The only consideration is if one brand’s cameras try to “discover” each other via broadcast, which some NVRs use. Since they’re all on the same VLAN, broadcast works normally within that VLAN.
Final Notes
VLAN isolation is the single most impactful security measure you can implement for IoT cameras. It takes 30-60 minutes to set up, costs nothing (assuming you have a managed switch), and dramatically reduces your attack surface. Even if you trust your camera manufacturer completely today, firmware vulnerabilities are discovered regularly. Isolation means a compromised camera can’t become a foothold into your entire network.
For more on building a secure, private camera system from scratch, check our best NVR systems roundup and the Ubiquiti vs consumer mesh comparison.