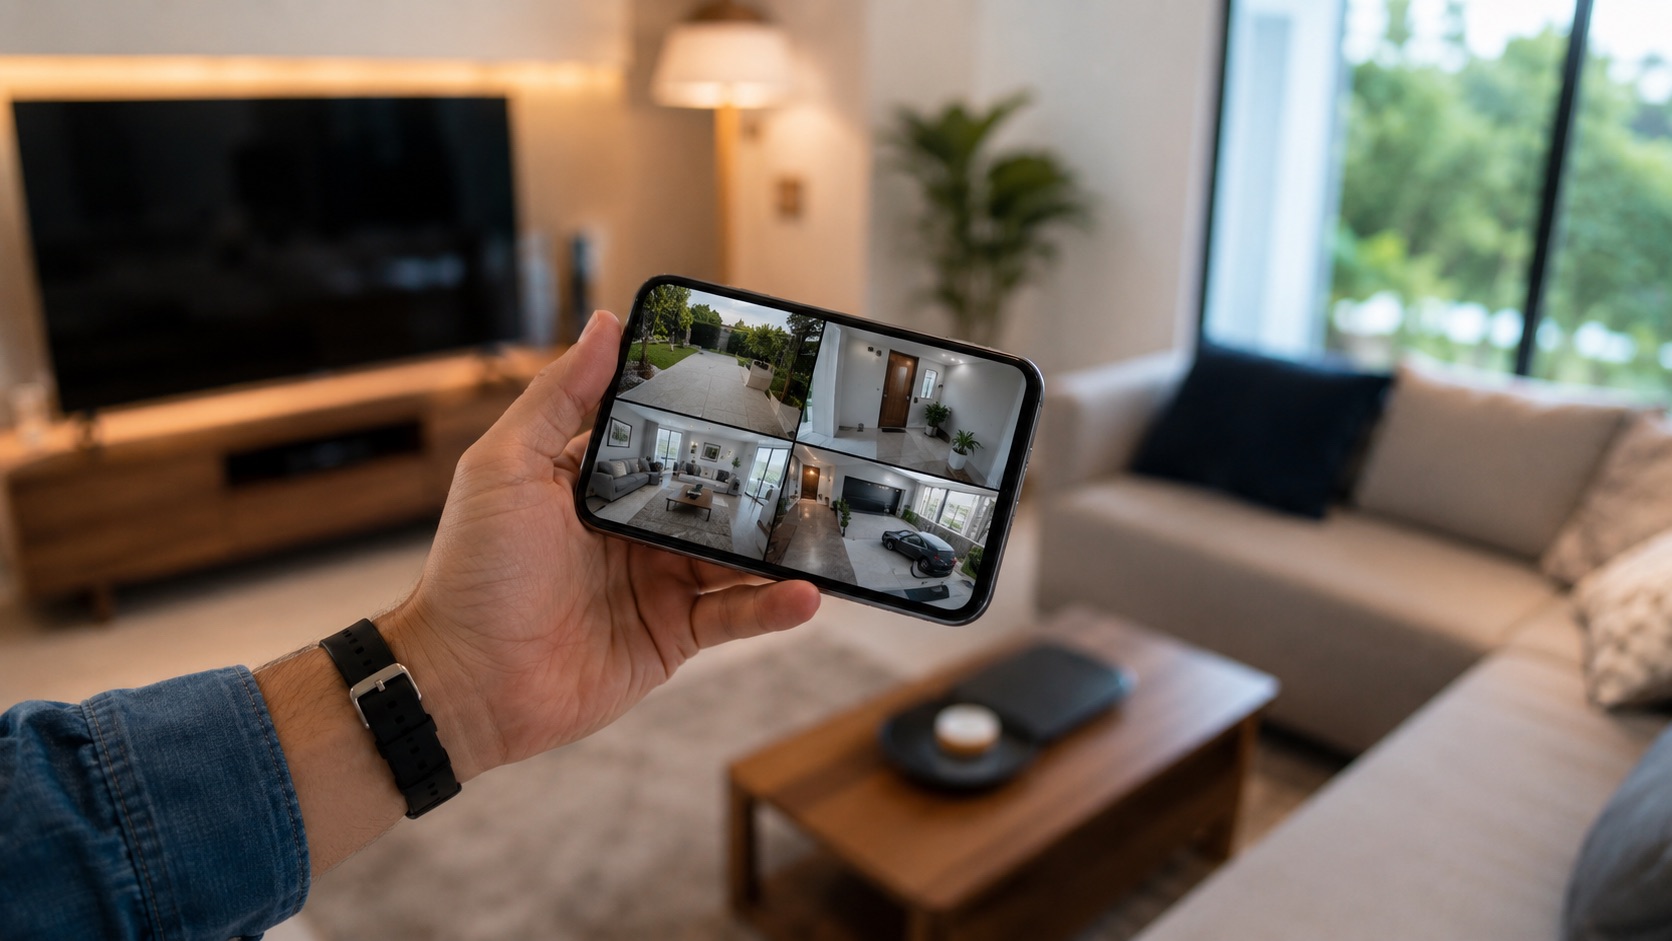
Reolink Cameras Home Assistant Setup: PoE, RTSP, and Frigate Guide (2026)
Reolink PoE cameras can provide wired connectivity, local streams, and model-dependent on-camera detection. Bart’s documented home setup uses Reolink PoE cameras, Ubiquiti networking, and local NVR storage. This article is a practical implementation guide, not a test of every Reolink model or every integration path.
This guide covers direct integration, RTSP stream configuration, Frigate NVR setup, and practical automations for a local security system.
It also forms part of our wider Home Assistant topic guide for local integrations and real setup paths.
Why Reolink for Home Assistant?
Reolink stands out in the Home Assistant ecosystem because:
- Native RTSP support: Direct local video streams without cloud dependency
- Built-in AI detection: Person, vehicle, and animal detection on-camera
- PoE powered: Single Ethernet cable for power and data
- Local options without a subscription: Available features depend on the camera, NVR, firmware, and integration path
- Official HA integration: Native Reolink integration in Home Assistant
- Frigate compatible: Works perfectly with Frigate NVR for advanced AI detection
- Competitive pricing: Excellent value compared to cloud-dependent alternatives
If you are choosing between camera systems, compare Reolink’s local options with Ring’s cloud-oriented approach and our documented Tapo camera setup to find the appropriate fit.
Choosing the Right Reolink Camera
Reolink offers many models. Here are the best options for Home Assistant in 2026:
Outdoor Cameras
- RLC-810A: 4K, PoE, person/vehicle detection, excellent night vision
- RLC-820A: Similar to 810A with wider field of view
- RLC-1212A: 12MP ultra-high resolution for license plate reading
- Duo 3 PoE: Dual-lens 16MP panoramic view, 180 degrees
Indoor Cameras
- RLC-510A: 5MP indoor PoE camera with person detection
- E1 Zoom: Pan/tilt/zoom WiFi camera (not PoE but very capable)
Doorbell
- Reolink Video Doorbell PoE: Wired doorbell camera with person detection
For most Home Assistant users, the RLC-810A is the sweet spot of price, quality, and features.
Installation Method: NVR vs. Direct Integration
You have two main approaches for Reolink cameras with Home Assistant:
Option A: Direct Integration (Recommended for most)
Each camera connects directly to your network switch and integrates individually with Home Assistant.
Pros:
- Simpler setup
- Each camera is independently accessible
- No NVR hardware needed
- Lower cost
- Full RTSP access per camera
Cons:
- No centralized recording without additional software
- Each camera uses a network port on your switch
- Need Frigate or similar for continuous recording
Option B: Reolink NVR + Home Assistant
Use a Reolink NVR for recording and viewing, with Home Assistant pulling streams from the NVR.
Pros:
- Centralized recording and storage
- Reolink app works alongside Home Assistant
- Hardware-accelerated playback
- Easy for non-technical family members
Cons:
- Additional hardware cost ($150 to $300 for NVR)
- Some features duplicated between NVR and HA
- NVR becomes a potential single point of failure
Flexible local option: Direct integration with Frigate can keep detection and recording under local control, but it requires suitable hardware and more administration than a Reolink NVR.
Step-by-Step: Direct Integration Setup
Step 1: Physical Installation
- Mount your cameras in desired locations
- Run Ethernet cables from each camera to your PoE switch
- Connect the PoE switch to your network router/switch
- Cameras will power on and obtain IP addresses via DHCP
Step 2: Initial Camera Configuration
- Download the Reolink app on your phone
- Add each camera and complete the initial setup (set password, configure resolution)
- Note each camera’s IP address (check your router’s DHCP table or the Reolink app)
- Important: Set static IP addresses for each camera (either in the camera settings or via DHCP reservation on your router)
Step 3: Add the Reolink Integration
- In Home Assistant, go to Settings > Devices & Services
- Click Add Integration
- Search for “Reolink”
- Enter the camera’s IP address, username (default: admin), and password
- Home Assistant will discover and add all available entities
Each camera will create entities for:
- Camera streams (main and sub-stream)
- Binary sensors (motion, person detected, vehicle detected)
- Switches (IR lights, siren, recording)
- Sensors (PTZ position for PTZ models)
Step 4: Configure RTSP Streams
For advanced use (Frigate, custom dashboards), you will need the RTSP URLs:
Main stream (high quality, 4K/8MP):
rtsp://admin:YOUR_PASSWORD@CAMERA_IP:554/h264Preview_01_mainSub stream (lower quality, for detection):
rtsp://admin:YOUR_PASSWORD@CAMERA_IP:554/h264Preview_01_sub1Test these URLs in VLC media player to verify they work before configuring Frigate.
Setting Up Frigate for AI Detection
Frigate is a popular local detection and recording option for Home Assistant. It can process compatible camera streams locally and expose configured object detection without relying on a camera-vendor cloud.
Why Frigate?
- Runs entirely locally on your hardware
- Uses Google Coral TPU for fast inference (optional but recommended)
- Records only when objects of interest are detected
- Deep Home Assistant integration
- Dramatically reduces storage needs vs. continuous recording
Basic Frigate Configuration
Install Frigate as a Home Assistant add-on or Docker container, then configure your cameras:
mqtt:
  host: YOUR_MQTT_BROKER_IP
  user: mqtt_user
  password: mqtt_password

cameras:
  front_yard:
    ffmpeg:
      inputs:
        - path: rtsp://admin:PASSWORD@192.168.1.100:554/h264Preview_01_sub1
          roles:
            - detect
        - path: rtsp://admin:PASSWORD@192.168.1.100:554/h264Preview_01_main
          roles:
            - record
    detect:
      width: 640
      height: 480
      fps: 5
    objects:
      track:
        - person
        - car
        - dog
        - cat
    record:
      enabled: true
      retain:
        days: 7
      events:
        retain:
          default: 14

  backyard:
    ffmpeg:
      inputs:
        - path: rtsp://admin:PASSWORD@192.168.1.101:554/h264Preview_01_sub1
          roles:
            - detect
        - path: rtsp://admin:PASSWORD@192.168.1.101:554/h264Preview_01_main
          roles:
            - record
    detect:
      width: 640
      height: 480
      fps: 5
    objects:
      track:
        - person
        - dog
        - cat
Key design decision: Use the sub-stream for detection (lower resolution = faster processing) and the main stream for recording (full quality when events occur).
Hardware Recommendations for Frigate
- Google Coral USB TPU ($30 to $60): Dramatically speeds up detection, highly recommended
- Minimum 4GB RAM on your Home Assistant host for 2 to 4 cameras
- SSD storage: Do not use SD cards for recording; they will wear out quickly
- Intel NUC or x86 mini PC: Best performance for 4+ cameras with Frigate
Practical Automations
Person Detected at Front Door
automation:
  - alias: "Person at front door"
    trigger:
      - platform: state
        entity_id: binary_sensor.front_yard_person_occupancy
        to: "on"
    action:
      - service: notify.mobile_app_your_phone
        data:
          title: "Person Detected"
          message: "Someone is at the front door"
          data:
            image: "/api/frigate/notifications/{{trigger.to_state.attributes.event_id}}/thumbnail.jpg"
Vehicle in Driveway Alert
automation:
  - alias: "Vehicle in driveway"
    trigger:
      - platform: state
        entity_id: binary_sensor.driveway_car_occupancy
        to: "on"
    condition:
      - condition: state
        entity_id: input_boolean.away_mode
        state: "on"
    action:
      - service: notify.mobile_app_your_phone
        data:
          title: "Driveway Alert"
          message: "A vehicle was detected in your driveway while you are away"
Night Motion Recording
automation:
  - alias: "Backyard night motion"
    trigger:
      - platform: state
        entity_id: binary_sensor.backyard_motion
        to: "on"
    condition:
      - condition: sun
        after: sunset
        before: sunrise
    action:
      - service: switch.turn_on
        target:
          entity_id: switch.backyard_spotlight
      - delay: "00:05:00"
      - service: switch.turn_off
        target:
          entity_id: switch.backyard_spotlight
Security Dashboard
Create a Lovelace dashboard with live camera feeds:
type: picture-glance
title: Front Yard
camera_image: camera.front_yard
camera_view: live
entities:
  - binary_sensor.front_yard_person_occupancy
  - binary_sensor.front_yard_car_occupancy
Optimizing Camera Performance
Network Configuration
- Use a dedicated VLAN for cameras (isolates traffic and improves security)
- Ensure your PoE switch provides enough wattage (most Reolink cameras need 12 to 15W)
- Use Cat6 cable for runs over 50 meters
- Set cameras to static IPs to prevent connection drops after DHCP lease renewal
Stream Settings
For the best balance of quality and performance:
- Main stream: 4K (3840x2160), 15fps, H.265, 8Mbps bitrate
- Sub stream: 640x480 or 896x512, 15fps, H.264, 512Kbps bitrate
- Detection stream (for Frigate): Use sub-stream to reduce CPU load
Storage Planning
With Frigate event-based recording:
- 1 camera typically uses 5 to 15 GB per day (depending on activity)
- 4 cameras with 7-day retention: approximately 200 to 400 GB
- Recommend at least 1TB SSD for a 4 to 8 camera system
Reolink vs. Other Camera Options
| Feature | Reolink PoE | Tapo WiFi | Ring | Unifi Protect |
|---|---|---|---|---|
| Local RTSP | Yes | Yes | No | Yes |
| PoE | Yes | No | No | Yes |
| AI Detection (on-camera) | Yes | Basic | Cloud | Yes |
| Frigate Compatible | Excellent | Good | No | Good |
| Monthly Cost | $0 | $0 | $3.99+ | $0 |
| Price Range | $50-150 | $25-50 | $100-250 | $100-450 |
| HA Integration | Native | Custom | Cloud API | Native |
For budget-conscious users, Tapo cameras offer great value for indoor use. For those already in the Ring ecosystem, see our Ring integration guide.
Combining with Other Smart Home Devices
Reolink cameras become even more powerful when combined with other devices:
- Zigbee motion sensors (Aqara): Use indoor motion sensors to trigger camera recording in specific zones
- Smart locks (Matter locks): Snap a photo when the lock is unlocked
- Smart lights: Flash lights when person is detected at night
- Robot vacuums (vacuum roundup): Pause vacuum when you see a delivery person at the door
FAQ
Can I use Reolink cameras without an NVR?
Yes. Each Reolink PoE camera works independently. Connect it to any PoE switch, access it via RTSP, and use Frigate or Home Assistant for recording. No NVR needed.
How much storage do I need for continuous recording?
For continuous 24/7 recording at full quality: approximately 30 to 60 GB per camera per day. With Frigate event-based recording, this drops to 5 to 15 GB per camera per day. Most users prefer event-based recording for the storage savings.
Does the Reolink integration support two-way audio?
Limited support. The native Reolink integration in Home Assistant supports viewing and motion events. Two-way audio requires using the Reolink app directly. This is a limitation of the current integration.
Can Frigate use the Reolink on-camera AI detection?
They are independent systems. Reolink’s on-camera AI and Frigate’s AI run separately. You can use either or both. Frigate offers more customization and works across multiple camera brands, while Reolink’s on-camera detection requires zero additional hardware.
What happens to recordings if my Home Assistant server goes down?
If using Frigate on Home Assistant: recordings stop. If using a Reolink NVR alongside HA: the NVR continues recording independently. For redundancy, some users run both. Cameras with SD card slots can also record locally as a backup.
Do Reolink cameras work with Apple HomeKit?
Not natively. Reolink cameras do not support HomeKit directly. However, you can bridge them through Home Assistant using the HomeKit Bridge integration. See our Apple HomeKit vs Home Assistant comparison for more on bridging.
Final Thoughts
Reolink PoE cameras paired with Home Assistant (and optionally Frigate) give you a professional-grade security camera system with full local control, no subscriptions, and deep smart home integration. The initial setup takes a bit more effort than a cloud camera, but the result is a system that is faster, more private, and more capable than anything a subscription service offers.
Start with one or two cameras, get comfortable with the RTSP setup and basic automations, then expand as needed. Your future self will appreciate having a camera system that is fully under your control.